OPC UA: Simple Robotic Arm Modelling
In this lab session you will connect a simulation in NX MCD to a simulated PLC.
Note
Please prepare all the preparation sections before the actual lab session. This is obligatory for attending and will save you time during the session.
Preparation may include drawing diagrams, answering questions, or reading through the basics.
What you need
Software
Siemens NX version 1872 or newer (pre-installed on the lab PC)
PLCSIM Advanced V3
Files
CAD files of the examples used in this module can be found here: https://fh-aachen.sciebo.de/s/AFAGrOi2zRFL1y7
The correct assembly can be found in OPC_UA. Download all the parts from the OPC_UA file and open ASSEMBLY_simple_robotic_arm_S_OPC_UA in Siemens NX.
For this task, you will find the PLC program that controls the arm in simple_robotic_arm_PLC_program_V15.1. Download that folder as you will need to open it
later with TIA Portal (change the file ending to .ap15_1 instead of .info).
Preparation
Assignment
In this exercise we will connect a running robotic arm simulation to a PLC over OPC-UA. The CAD files as well as the PLC program are available.
Note
When you first start NX, you may get an error saying there are no licenses available. Click “OK” and navigate to File->Utilities->Select Bundles. In the window that opens, select and add both available bundles then click OK. This solves the error.

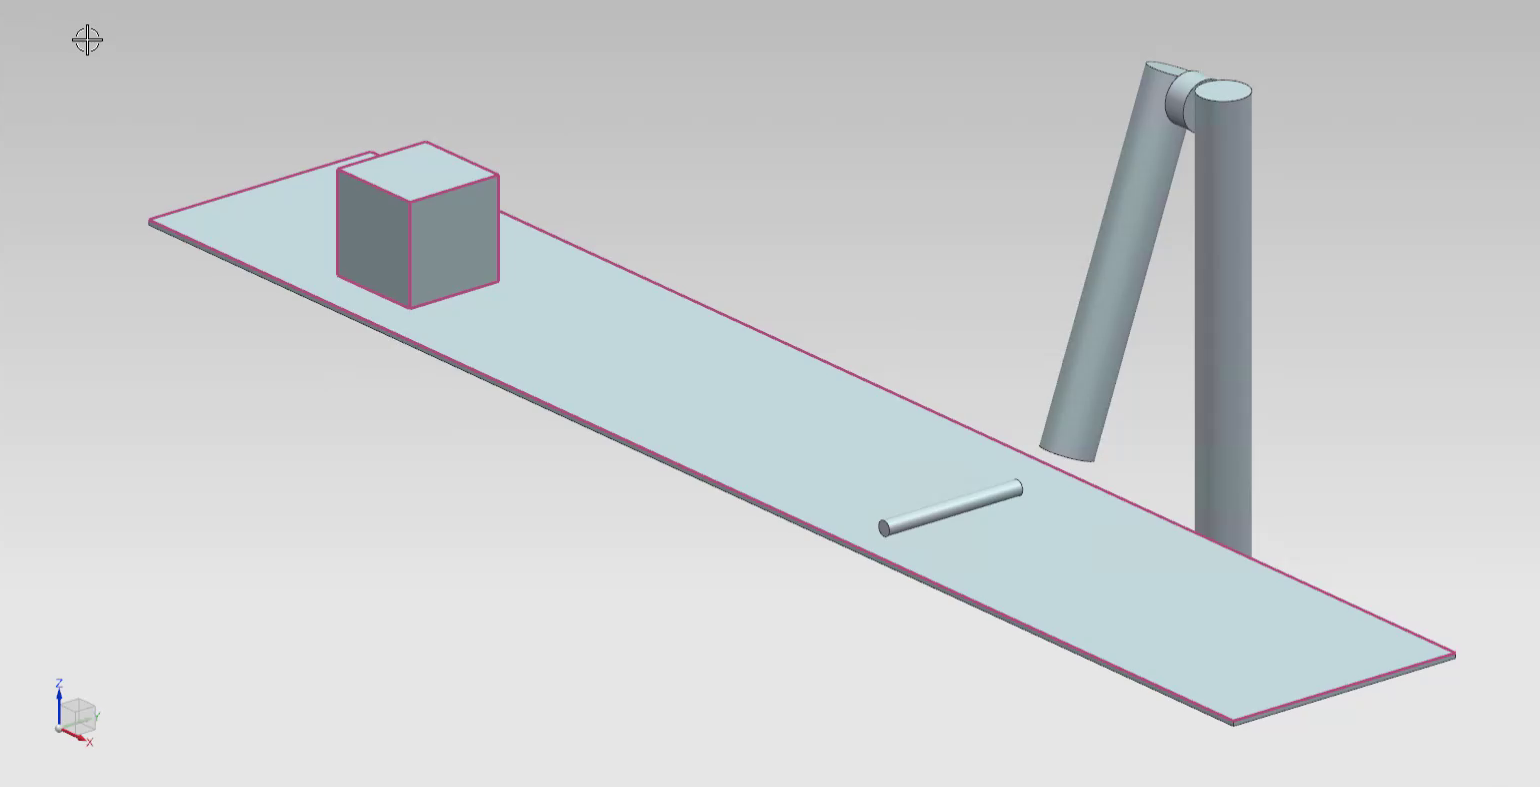
Fig. 2 Simple robotic arm functionality
Simple Robotic Arm
Start NX and open the ASSEMBLY_simple_robotic_arm file.
Todo
Create a signal and call it
bSensor.Link the
bSensorsignal to a runtime parameter. Choose the collision sensor object as the runtime object.Create a signal and call it
bRobotic_arm_out.Set the
bRobotic_arm_outsignal as Input of data type bool.
Conditions - Using Operations as if-Statements
The bRobotic_arm_out is a signal that is controlled by the PLC. Here we link that signal to the action of moving the robotic arm in the simulation.
Todo
Create an operation in the
Sequence Editor. Choose the position control object as theSelect Objectchoice. Make a check next topositionand give in a value of70. Select thebRobotic_arm_outsignal (from thePhysics Navigator) as the condition object and specify thattriggered == true. Name the operationArm_out.
Create a second operation. Choose the position control object as the
Select Objectchoice. Make a check next topositionand give in a value of0. Select thebRobotic_arm_outsignal (from thePhysics Navigator) as the condition object and specify thattriggered == false. Name the operationArm_in.
We will check if the desired behaviour is achieved after we set up the communication between the PLC and the arm simulation.
TIA Portal
Open the project downloaded from the Sciebo downloads folder. The project’s name is simple_robotic_arm_PLC_program_V15.1. You can open it by double clicking on
the project’s .ap15_1 file. This will start a TIA Portal instance. This PLC program is complete and only needs to be uploaded onto a PLC. In the next step, we
will simulate a PLC in order to upload our project onto it.
PLCSIM Advanced
Todo
Start PLCSIM Advanced and start a PLC simulation. Use PLCSIM Advanced for a step-by-step guide.
Note
Make sure the PLC simulated has the same name as the PLC in the TIA Portal program. In the downloaded project, the name is PLC_1.
Note
Make sure PLCSIM Virtual Eth. Adapter is selected in PLCSIM Advanced.
Todo
In TIA Portal, compile your program and upload it to the simulated PLC.
Establishing OPC-UA Communication
Todo
Establish an OPC UA connection between MCD and the simulated PLC. Refer to OPC UA and Signal Mapping for a guide on how to do that.
Todo
In the Signal Mapping window in MCD, click the option Do Auto Mapping.
This will automatically map identically-named signals to each other.
Todo
Run the simulation and watch the PLC’s variables in a watch table. The production station should now be controlled through the simulated PLC.