9. Tasks
The tasks below are designed to teach Node-RED UI and its basics
9.1. Task 1
9.1.1. Task 1.1
Todo
Create a flow with an inject node and debug node.
- Follow the steps below:
Add the nodes on workspace and join them.
Deploy the flow.
Open Debug window from sidebar.
Click on the square button on inject node and observe the output on debug window. You must see some numbers in debug. Check the help to find what these numbers mean.
9.1.2. Task 1.2
Todo
Inject automatically after 2 second. See the complete message in Debug.
- Follow the steps below:
Open the node configuration of inject and set it to repeat every 2 seconds.
Open the node configuration of debug and set it to display complete message.
Deploy the changes and observe the Debug window. You must see the complete message between { } brackets.
9.1.3. Task 1.3
Todo
Use function to add property to a message.
- Follow the steps below:
Add a function node in between the inject node and debug node.
Add the following code to the function. This function adds a property called name to the message and then returns it out from the function.
msg.name = "[YOUR NAME]";
return msg;
Deploy the changes and observe the Debug window. You must see your name on the debug window.
9.2. Task 2
Note
- You would need the following palettes installed.
node-red-dashboard ( https://flows.nodered.org/node/node-red-dashboard )
node-red-node-random ( https://flows.nodered.org/node/node-red-node-random )
Todo
Use random function to publish values between 15 to 35. It must repeat every 5 seconds. Add a function to convert these values from celsius in fahrenheit. Name the function Temp Converter. Use the output of this function to display values on a chart.
The label of chart must be room temperature. Set the value of x-axis to last 10 minutes.
Note
To open dashboard, look for a bar chart icon on side panel. Click on it and then find an icon as in image below.
Fig. 9.3 Dashboard Icon
Hint
You will need to add an inject node before the random function generator to repeat values at specified interval.
9.3. Task 3
Todo
Create a HTTP endpoint which responds to GET requests and handles the parameters passed in the url.
http://example.com/hello-query?PARAMETER_1=VALUE_1

Fig. 9.4 Task flow structure
- Tips for First Flow are provided below:
- In template node from function section. Enter the following code in the editor.
<html>
    <head></head>
    <body>
        <h1>Hello {{req.query.name}}!</h1>
    </body>
</html>
- Tips for Second Flow are provided below:
In http request node. In URL, enter the following and keep the rest setting unchanged.
http://localhost:1880/hello-query?name={{{payload}}}or this if the above doesn’t work
http://127.0.0.1:1880/hello-query?name={{{payload}}}
The output must look like this: Remember to See the blue highlighted text below. You output must be as in blue color.
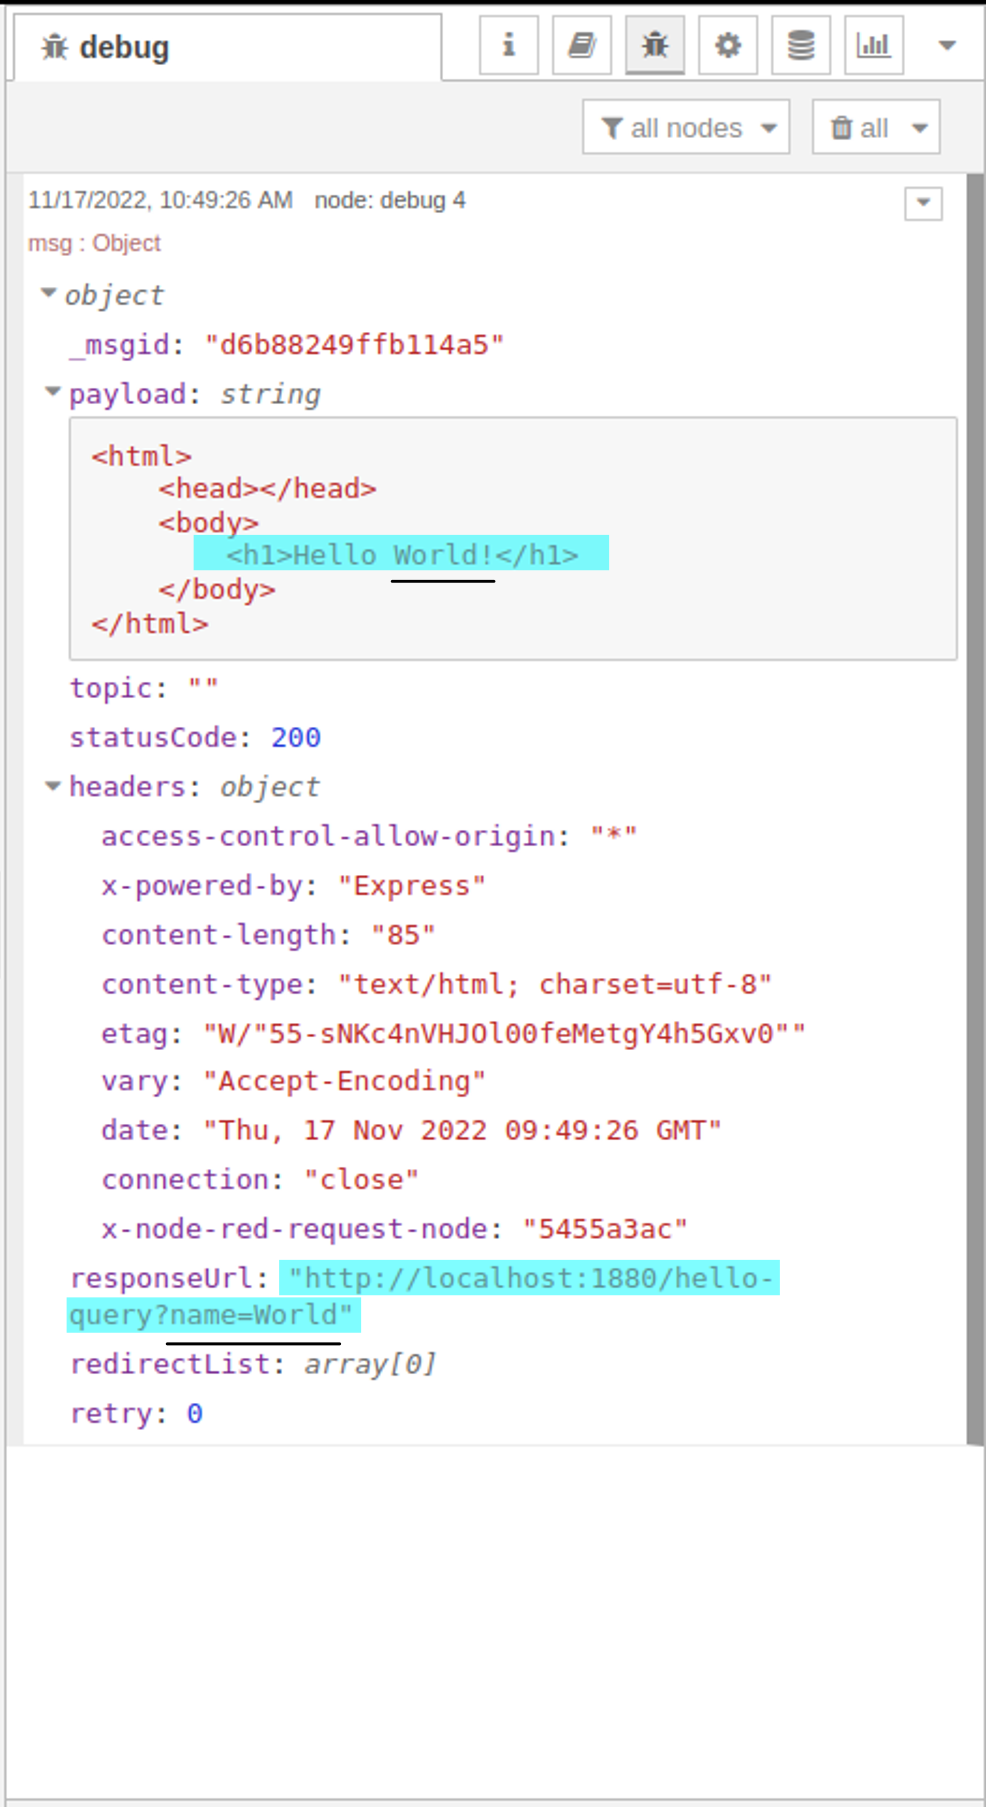
Fig. 9.5 Task output
9.4. Task 4
Todo
Create a user input form on dashboard. The form should take the following inputs from user: Name, Email-ID and Favorite number.
Use this form to save data to a .txt file.
Use the Node-RED help book icon ( 📕 ).