3. Hardware Setup
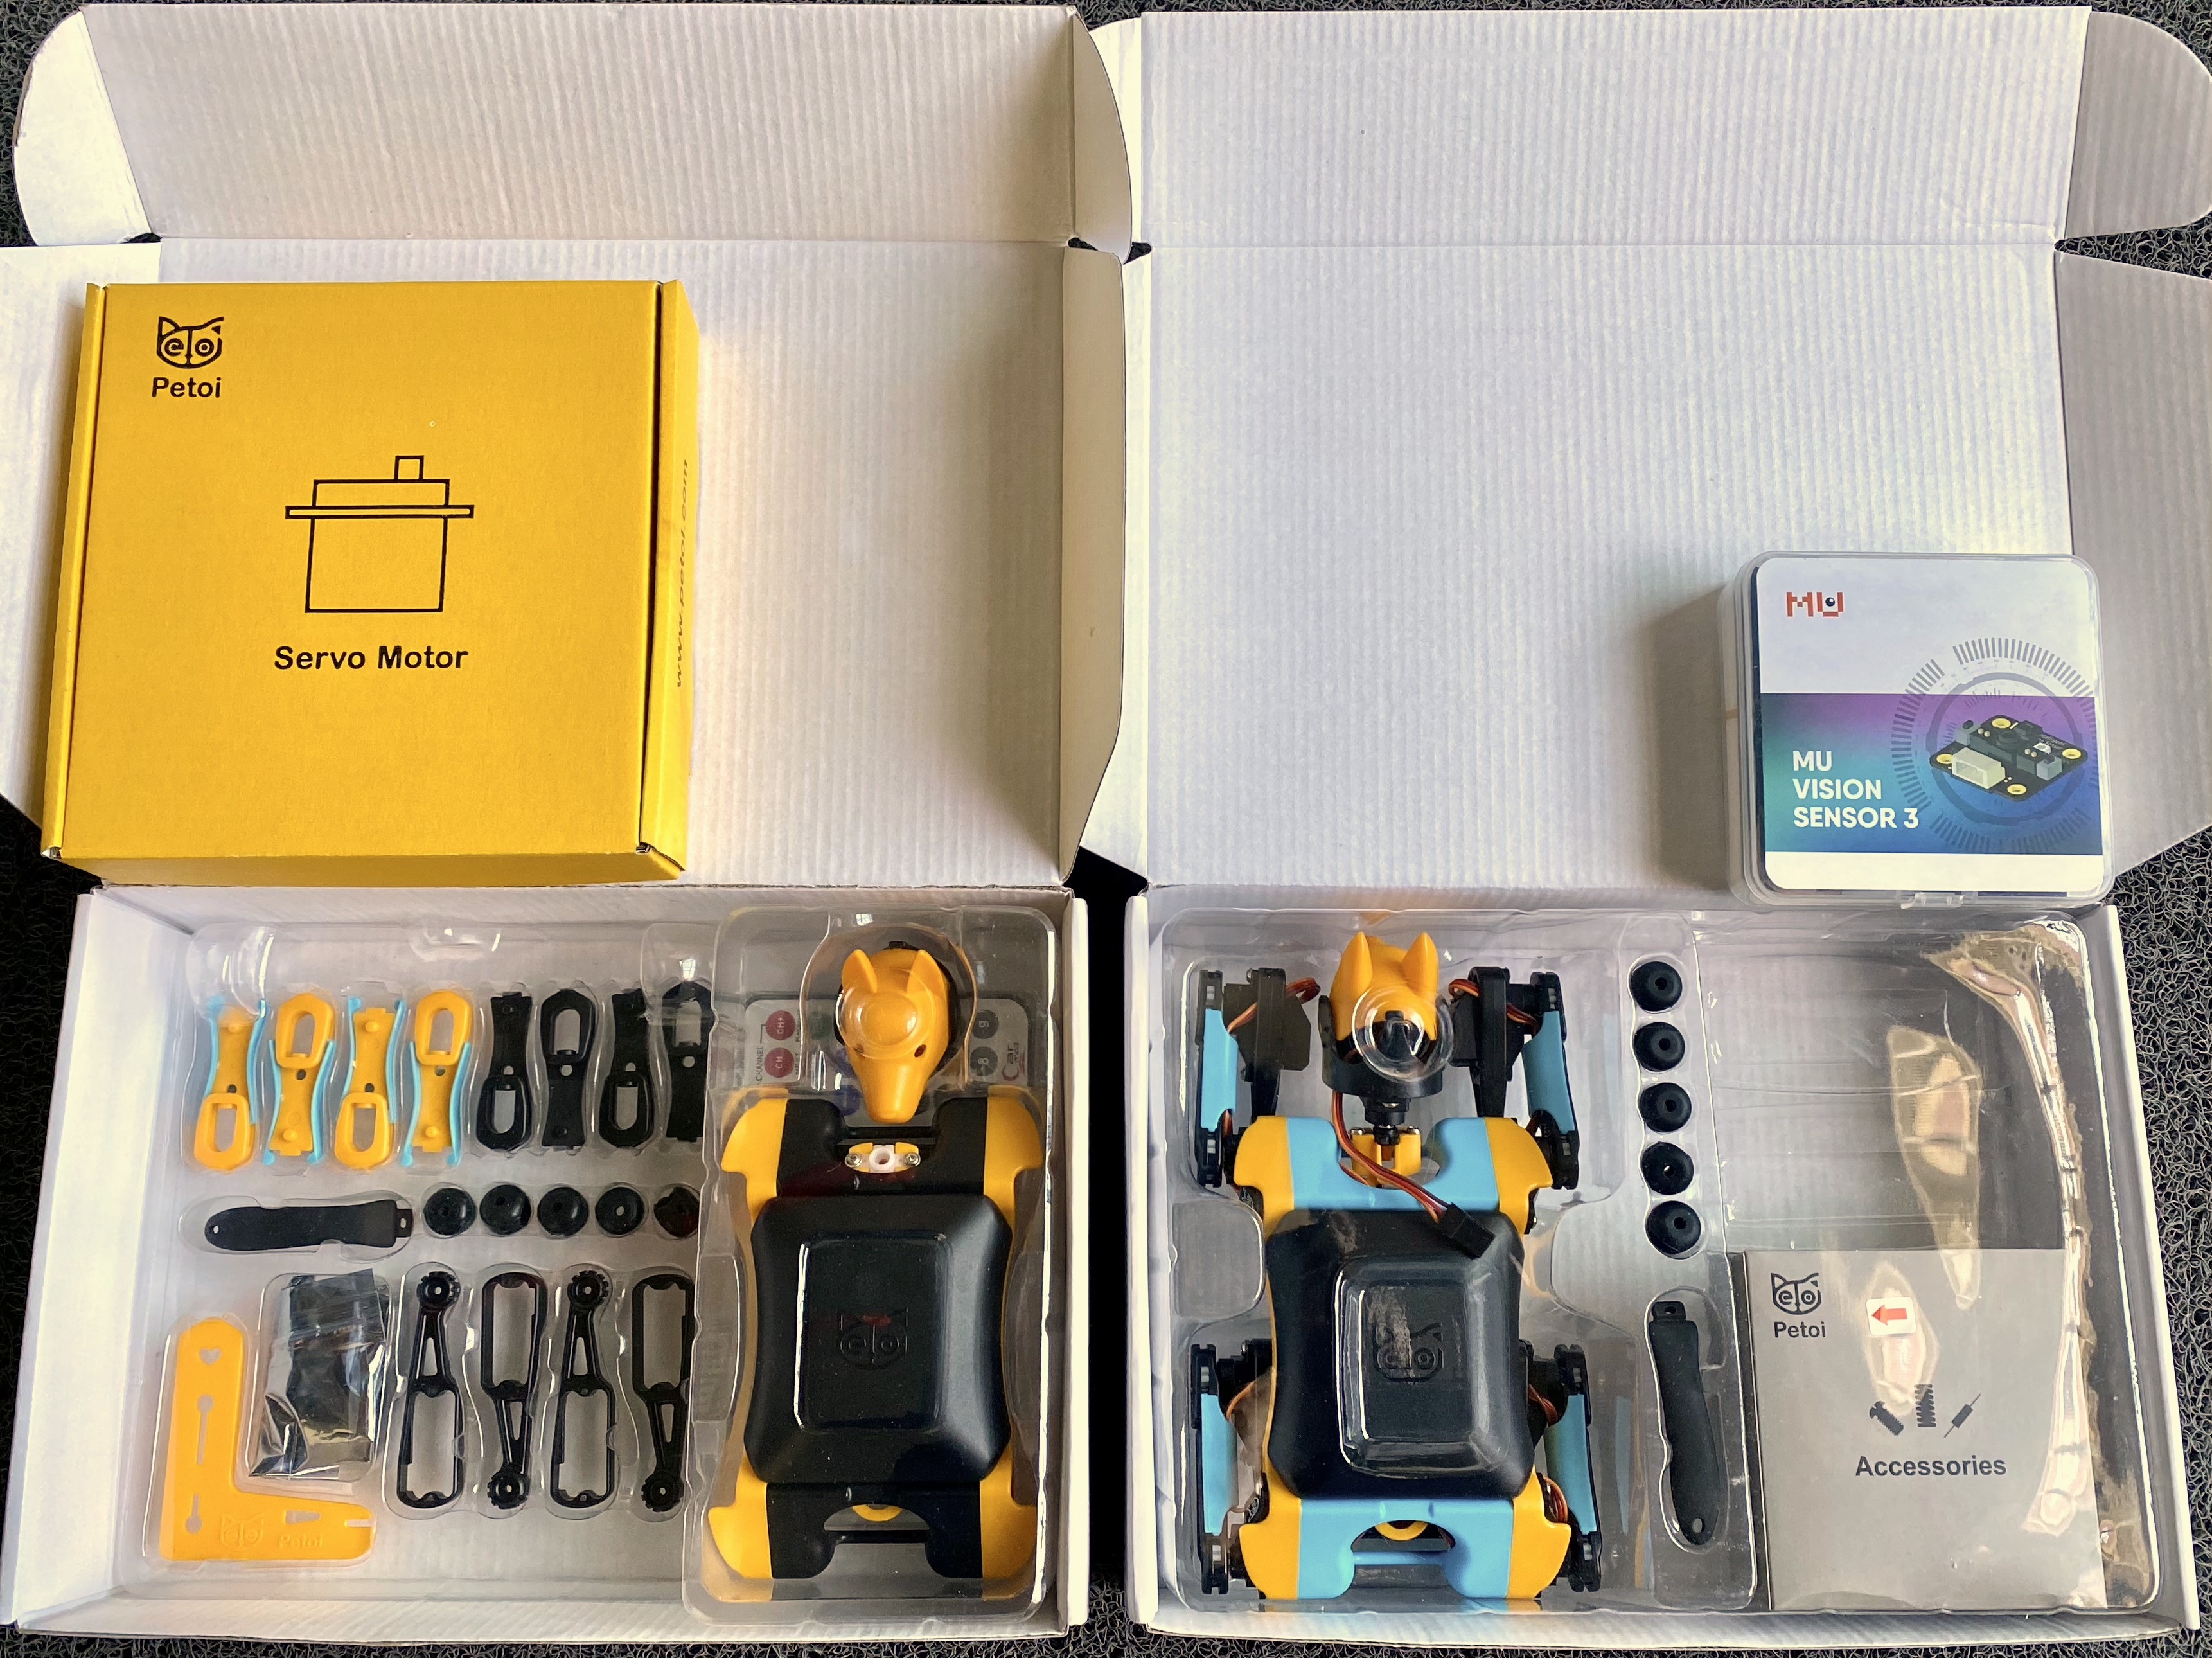
Fig. 3.1 Unassembled Bittle Kit and Pre-assembled Bittle.
3.1. Pre-assembled kit
Todo
- If you received the pre-assembled Bittle, you need to:
insert the neck into the body.
bend the knees to natural angles.
drag the curly wire from the knee side to the shoulder side to avoid squeezing when the knee joints rotate.
put the joints into the following posture before turning on the power.
long press the battery’s button for 2~3 seconds to power on/off.
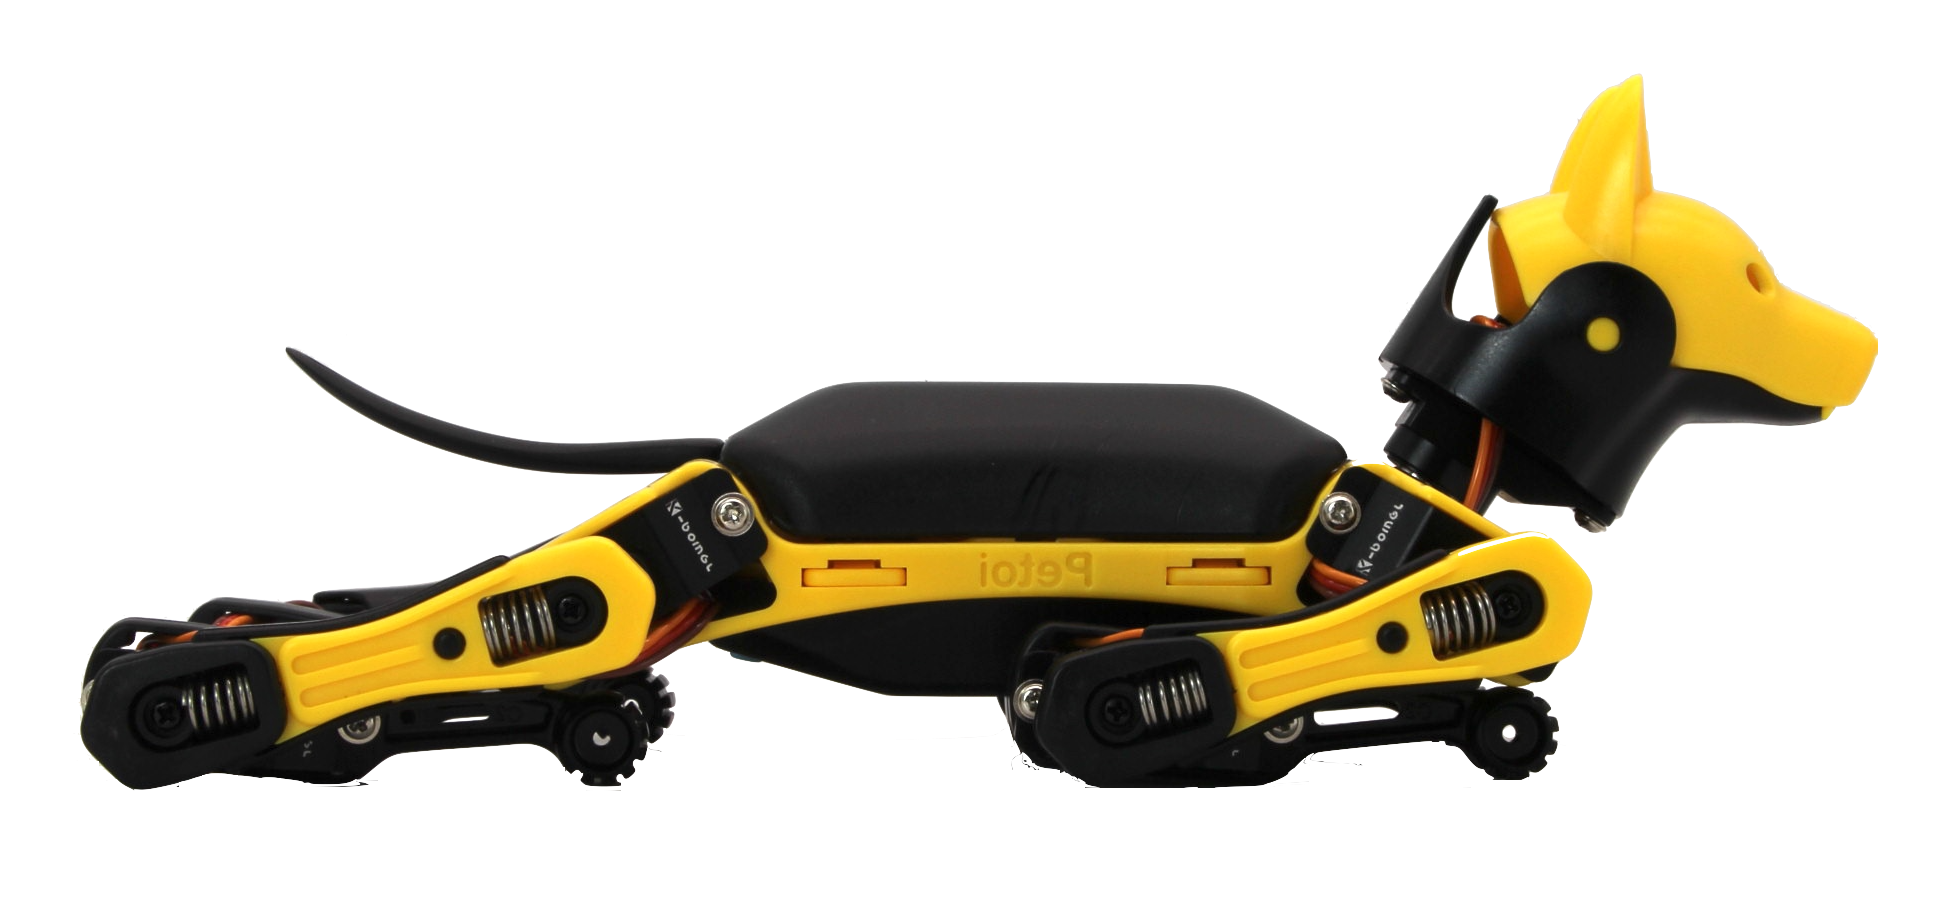
Fig. 3.2 Rest position of Bittle before powering.
Warning
The pre-assembled Bittle is only coarse-tuned. You still need to calibrate Bittle’s joint servos and final assembly to fine-tune its joints for the best performance.
If a small calibration is required, it can be done using App/Code. This will be done in the upcoming sections.
If the deviation is more than that possible with App/Code, you need to remove the corresponding part of the servo and re-install. Please refer this for details.
3.2. Base kit
Todo
If you received the a base kit with the single parts, you need to follow the tutorial provided here: https://bittle.petoi.com/4-Assemble-The-Frame
and here: