10. Tasks
Before doing the tasks, please make sure that you can control the robot using IR Remote. You should also know how to use Serial commands using Arduino Serial Monitor.
You might need to 3D print some parts to mount your sensors.
Note
These tasks will use Arduino UNO are Higher level controller and the Bittle board as low level controller. You must upload all your codes only to Arduino UNO. All sensors and actuators must be connected to Arduino UNO and not directly to Bittle board.
Note
Use Serial baud rate as 15200 for communicating with Bittle Board.
Hint
You can use SoftwareSerial for the following tasks. Look about this before using.
Warning
Use develop branch for all initial codes. Create other branches according to the requirements.
When everything is ready before submission, merge the code to main branch.
WHEN MERGING develop TO main DE-SELECT “Delete source branch when merge request is accepted.” OPTION.
10.1. Connections
Connect your Bittle with Arduino UNO / ESP32 CAM using TX and RX pins. The connection should be as below:
Arduino UNO
Bittle Board
TX
Rx
GND
GND
VIN
5V
Warning
When uploading code, you might have to remove the TX and RX pins from Arduino UNO board as they are connected to the USB programmer.
Hint
You can also use Software Serial to virtually create TX and RX on any available digital pin on UNO board.
10.2. Task 1
Make Bittle move straight for some distance, perform a skill, turn around and return back to the start point. The command must start from Node-RED.

Fig. 10.9 Task: Follow straight line
10.3. Task 2
Bittle follows a line. The line will have curves, and will not be always straight.
Using ESP32CAM , you must make bittle follow a line. The line will be White line on a Black (dark) floor.
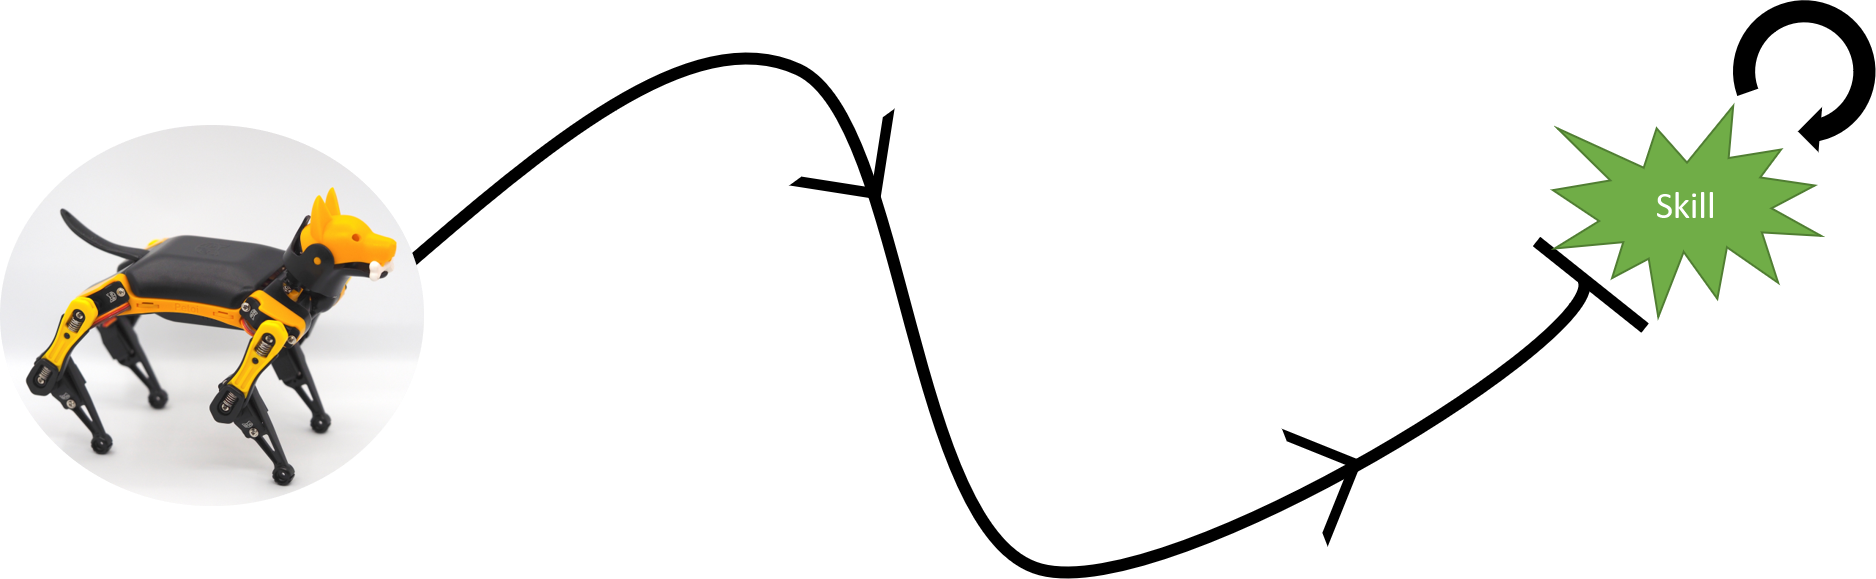
Fig. 10.10 Task: Follow path
10.4. Final Task
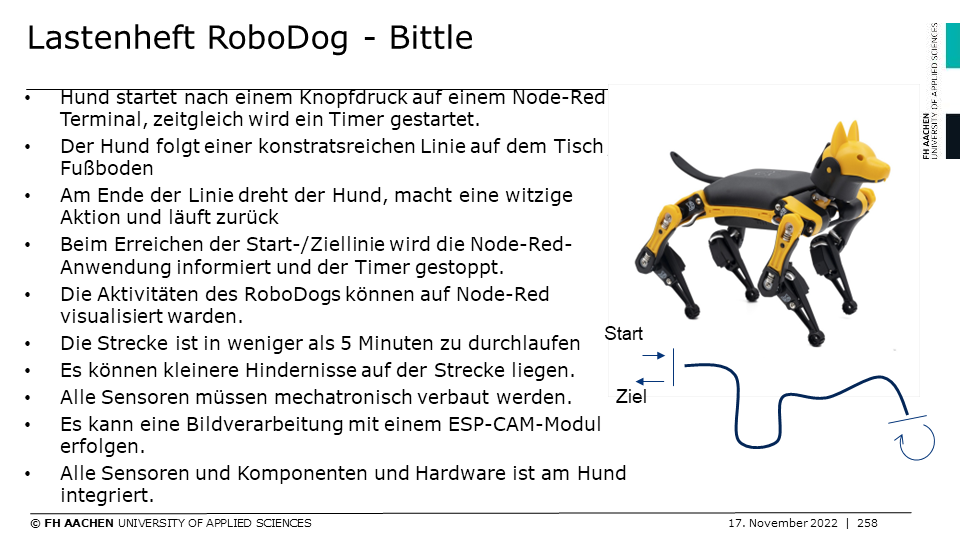
Fig. 10.11 Task: Final Task Lastenheft
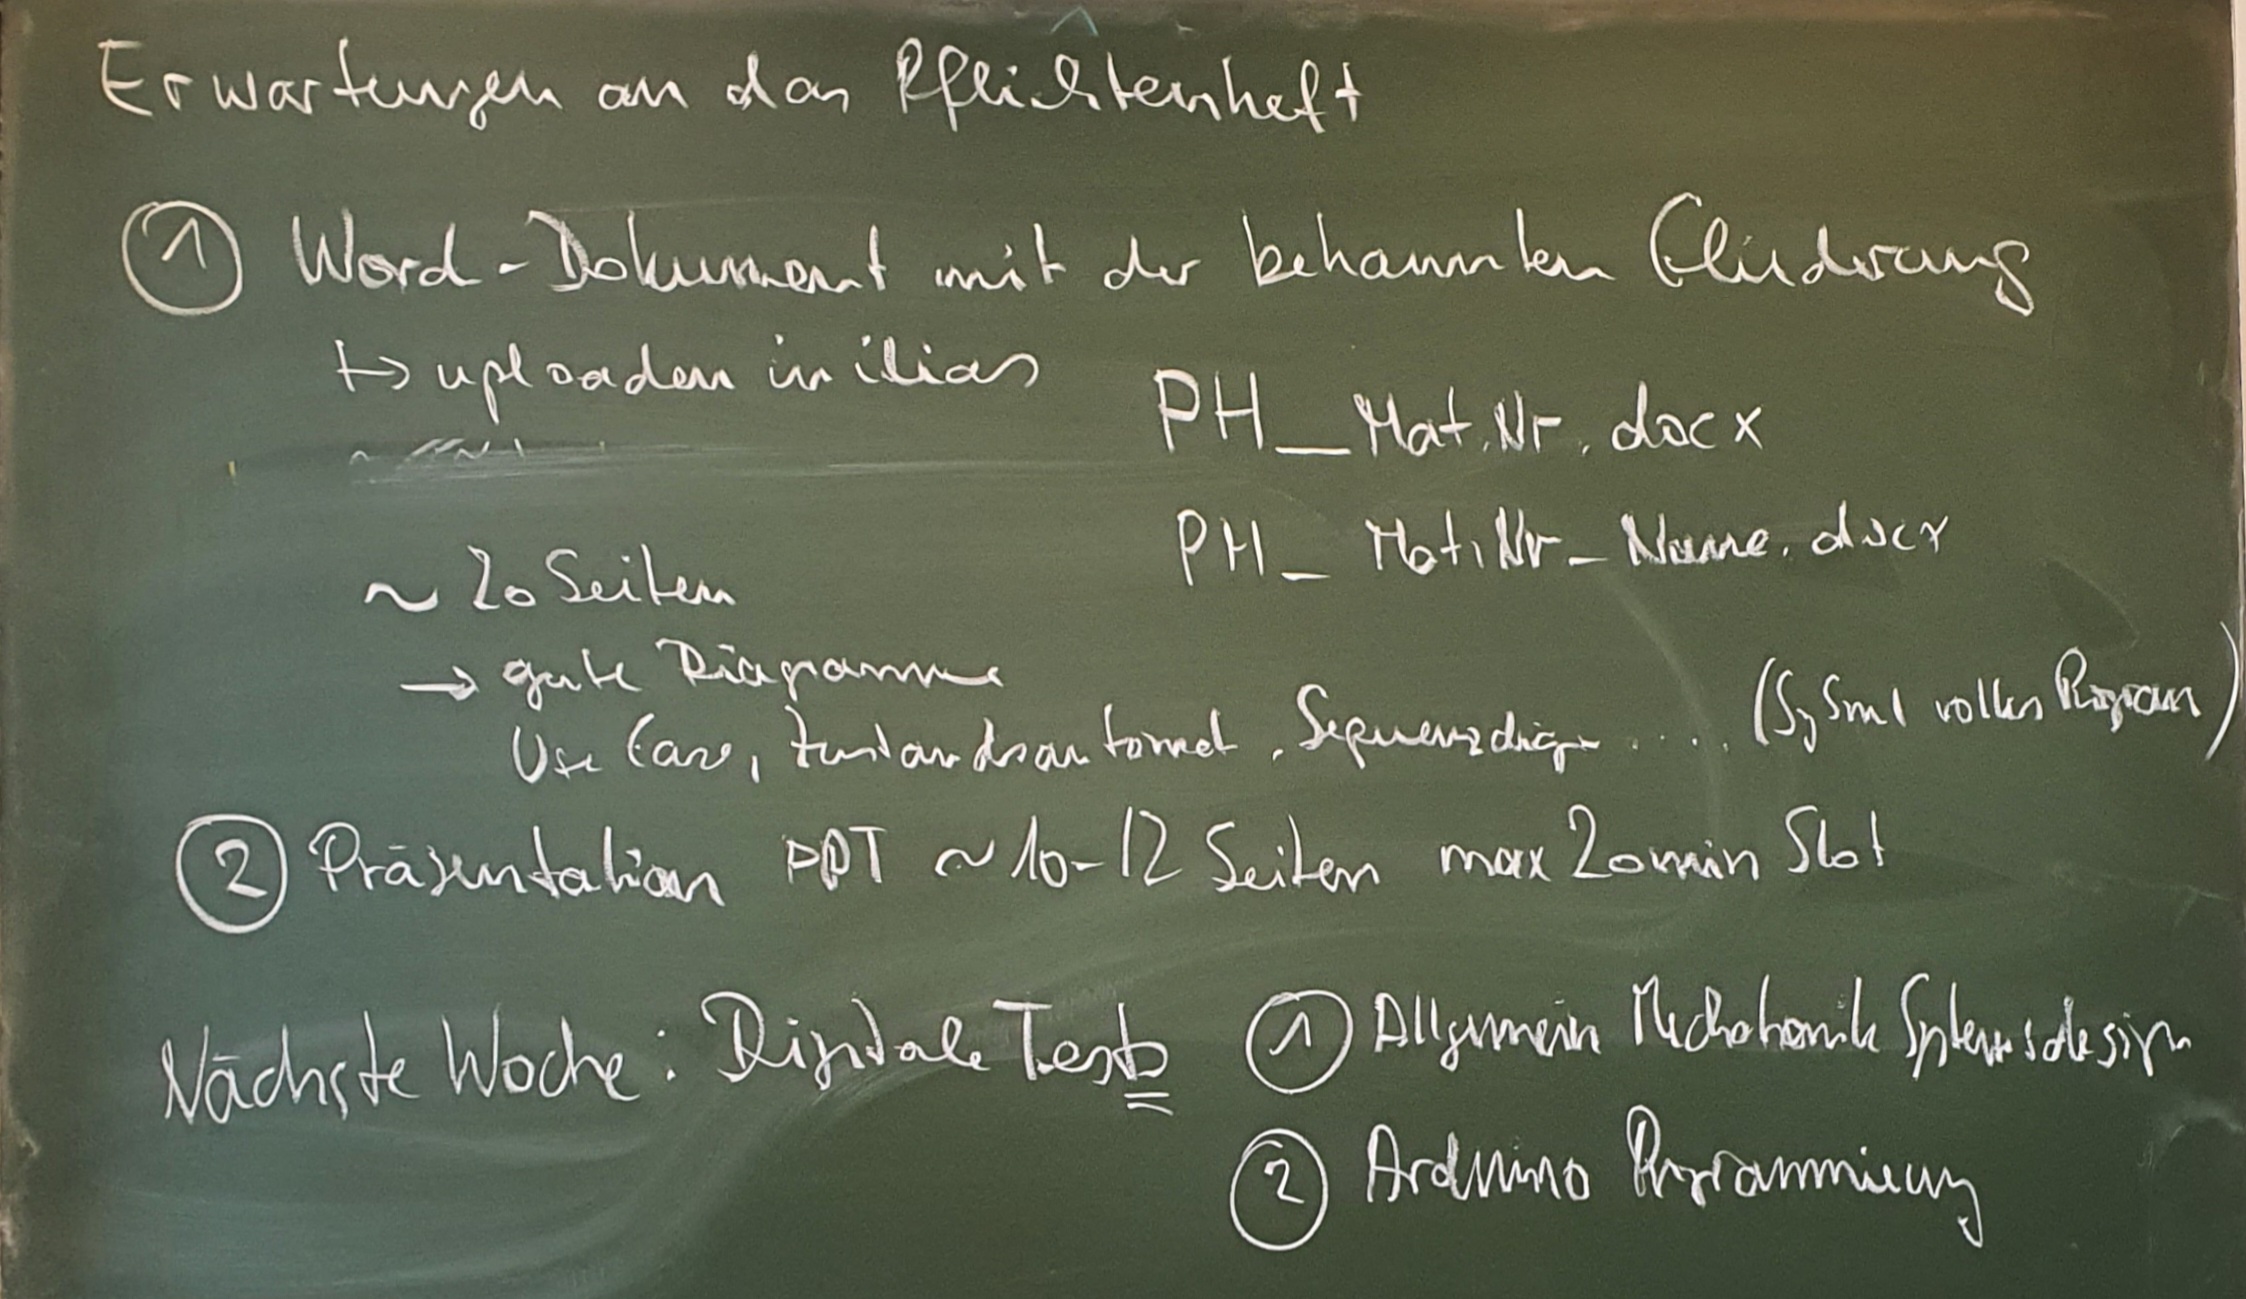
Fig. 10.12 Task: Final Task Instructions
Additionally:
Doxygen based code document
Working Video
Gitlab repository of codes shared with instructor